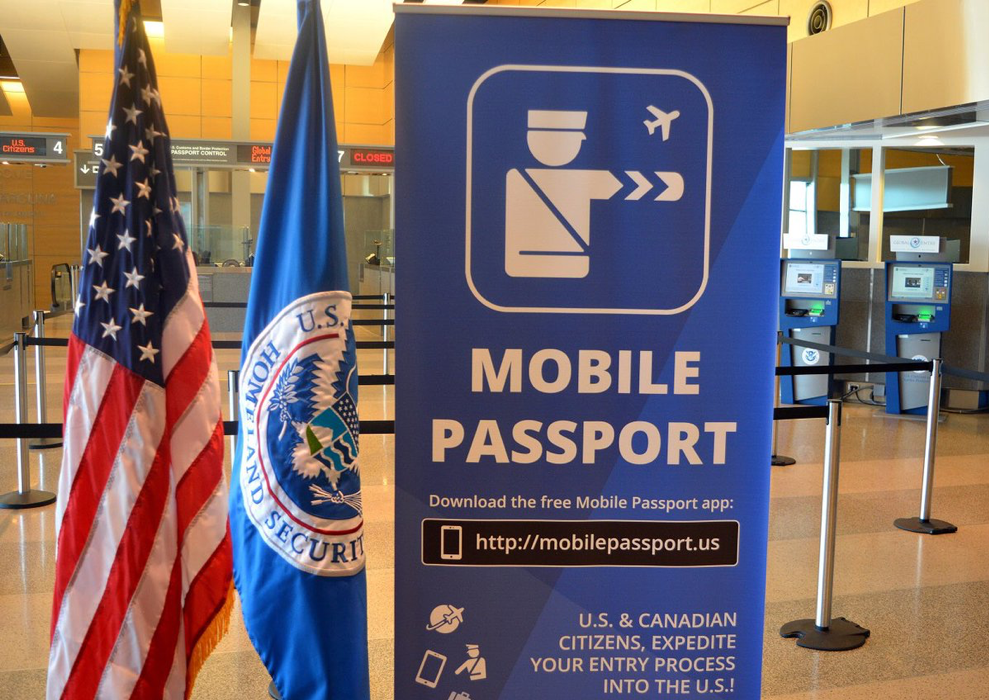
Mobile Passport can be used at thirty airports in the following cities:
- Baltimore
- Boston
- Chicago
- Dallas
- Denver
- Honolulu
- Houston
- Houston Hobby
- Kansas City
- Los Angeles
- Minneapolis
- New York
- Newark
- Oakland
- Orlando
- Philadelphia
- Phoenix
- Pittsburgh
- Portland
- Sacramento
- Salt Lake City
- San Diego
- San Francisco
- San Jose
- Seattle
- Tampa
- Washington Dulles
It’s also available at the Fort Lauderdale, Miami, San Juan, and West Palm Beach cruise ports.
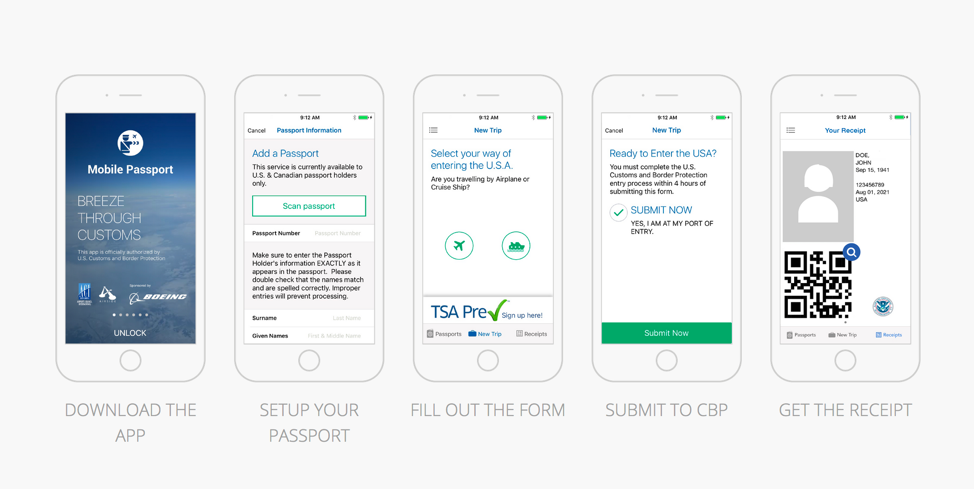
How does it work? After downloading the app, enter your passport information (and that for up to three family members, too), along with a selfie.
When you return from an international trip, open the app, answer five brief questions (flight info and customs declarations), receive a receipt with a QR code, and follow the signs to the Mobile Passport Control line (which usually will be nonexistent or a fraction of the length of the general immigration line).
Show your passport to the Customs and Border Patrol officer, scan the bar code on your Mobile Passport receipt, and that’s it!

This, of course, isn’t a sure-fire method of skipping lines—there’s no telling when an airport will be ill-equipped to handle Mobile Passport users. But I’ve never seen anyone wait nearly as long in the Mobile Passport line as he or she would have in the general immigration line. Sometimes it’s even shorter than the line for Global Entry.
FYI, there’s also a paid version of the app. For $15 a year, you can scan your passport and store your and your family’s details. (The free version requires manual entry of your data with every use.) If you’re a frequent traveler and don’t want to enter your info every trip, you may be better off signing up for Global Entry ($100/five years, versus $75 over the same time period for Mobile Passport), which is valid at many more points of entry.
Twist’s Take: If you don’t have Global Entry, this is the next best way to speed through Customs/Immigration on your return to the U.S. Plus, it’s free!
