How to take your own passport photo.

I went to Walgreens to take a passport photo. The fee was $15 and the process lasted almost an hour—the camera couldn’t be located, problems with the printer—which meant I had time to buy and eat my way through an entire bag of Sour Patch Kids from the candy aisle.

The photo was rejected by the U.S. Passport Office—too bright.
I next tried a camera/photography store. Four times the cost ($60), similar delay (the clerk who took passport photos was on break—c’mon guys, it’s a PHOTOGRAPHY store), same result (rejected—too dark).
My third option was either trying a UPS store’s service or doing it myself. I went with the latter. As it turned out, snapping my own passport photo was easier, cheaper, better, and much more convenient than going to either a professional (the camera store photographer) or a “professional” (the Walgreens cashier). The only thing lacking was Sour Patch Kids.
Websites that help you take your own passport photo
1. The U.S. State Department. Bureaucracy has entered the 21st century! The State Department offers a free photo cropping tool that sizes your passport photo correctly so you can print it yourself.
2. ivisa.com. If you don’t want to deal with printing your own passport pictures or if you need a passport or visa photo for another country (which are often a different size than the U.S. passport photo), ivisa.com will print and mail passport photos to you (all you have to do is email them your snap). Bonus: for an extra fee, they will check your photo to make sure it will be approved by the relevant passport authority.
3. Passport Photo Booth: Want to take your own passport photo? There’s an app for that. Passport Photo Booth (iOS | Android) helps you compose your passport photos, showing you exactly where to pose within the frame. You can e-mail or save the image for free, or pay extra to have your photos printed and mailed.
Passport photo requirements
If you’re planning to take a passport photo yourself, make sure it meets all of the State Department’s passport photo requirements. Here are some examples of passport pictures that do and don’t pass muster. Specifically:
-Passport pictures must be in color, not black and white, and taken within the last six months.
-No filters are allowed (no matter how good they make you look).
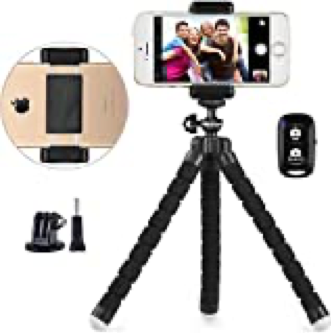
-No selfies, so you need a tripod ($15) or a friend.
-No face coverings, masks, or glasses (except in those rare instances where “eyeglasses cannot be removed for medical reasons”).
-Passport photos must be “2” x 2″ (51 x 51 mm) with the head centered and sized between 1″ and 1.4″ (25 and 35 mm).” (Click here for a passport photo composition template.)
-Photo must be taken in front of a plain white or off-white background. If you don’t have a white wall to pose in front of at home, tape a piece of plain white poster board behind you to create a clean backdrop.
-Photo must be a full-face view directly facing the camera, with a neutral facial expression (no smiling!) and both eyes open.
-The photo should be taken in clothing “you normally wear on a daily basis”; despite this, I’m not sure pandemic pajamas are a good idea. No uniforms, except religious clothing that is worn daily.
-No hats or head coverings can obscure your hair or hairline, unless worn daily for a religious purpose. Your full face must be visible, and there can’t be any shadows on your face. (Natural daylight on a sunny day works best.)
-Even if you’re never without them, no headphones, wireless hands-free devices, or similar items can be worn in the photo.
How did I do? The State Department accepted my self-taken passport photo, no problem.
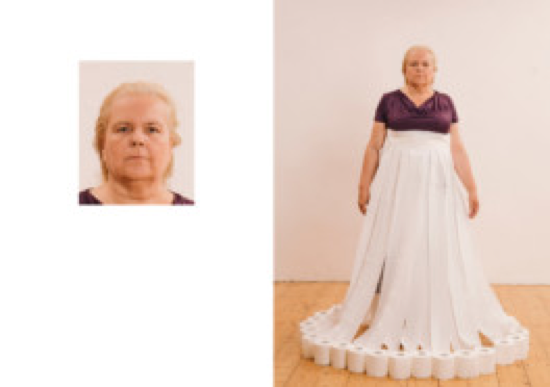
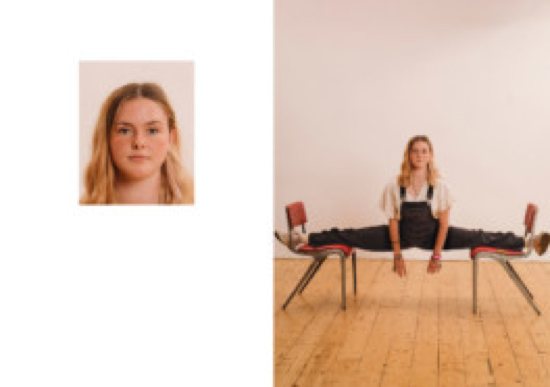
Finally, check out this photographer who pokes fun at the mundane process of shooting passport photos by having something extra going on outside the frame.

Twist’s Take: Taking your passport photo yourself can be easier, cheaper, better, and more convenient than having it done at the drugstore or camera shop.